Restoring a Sun Microsystems Ultra 5
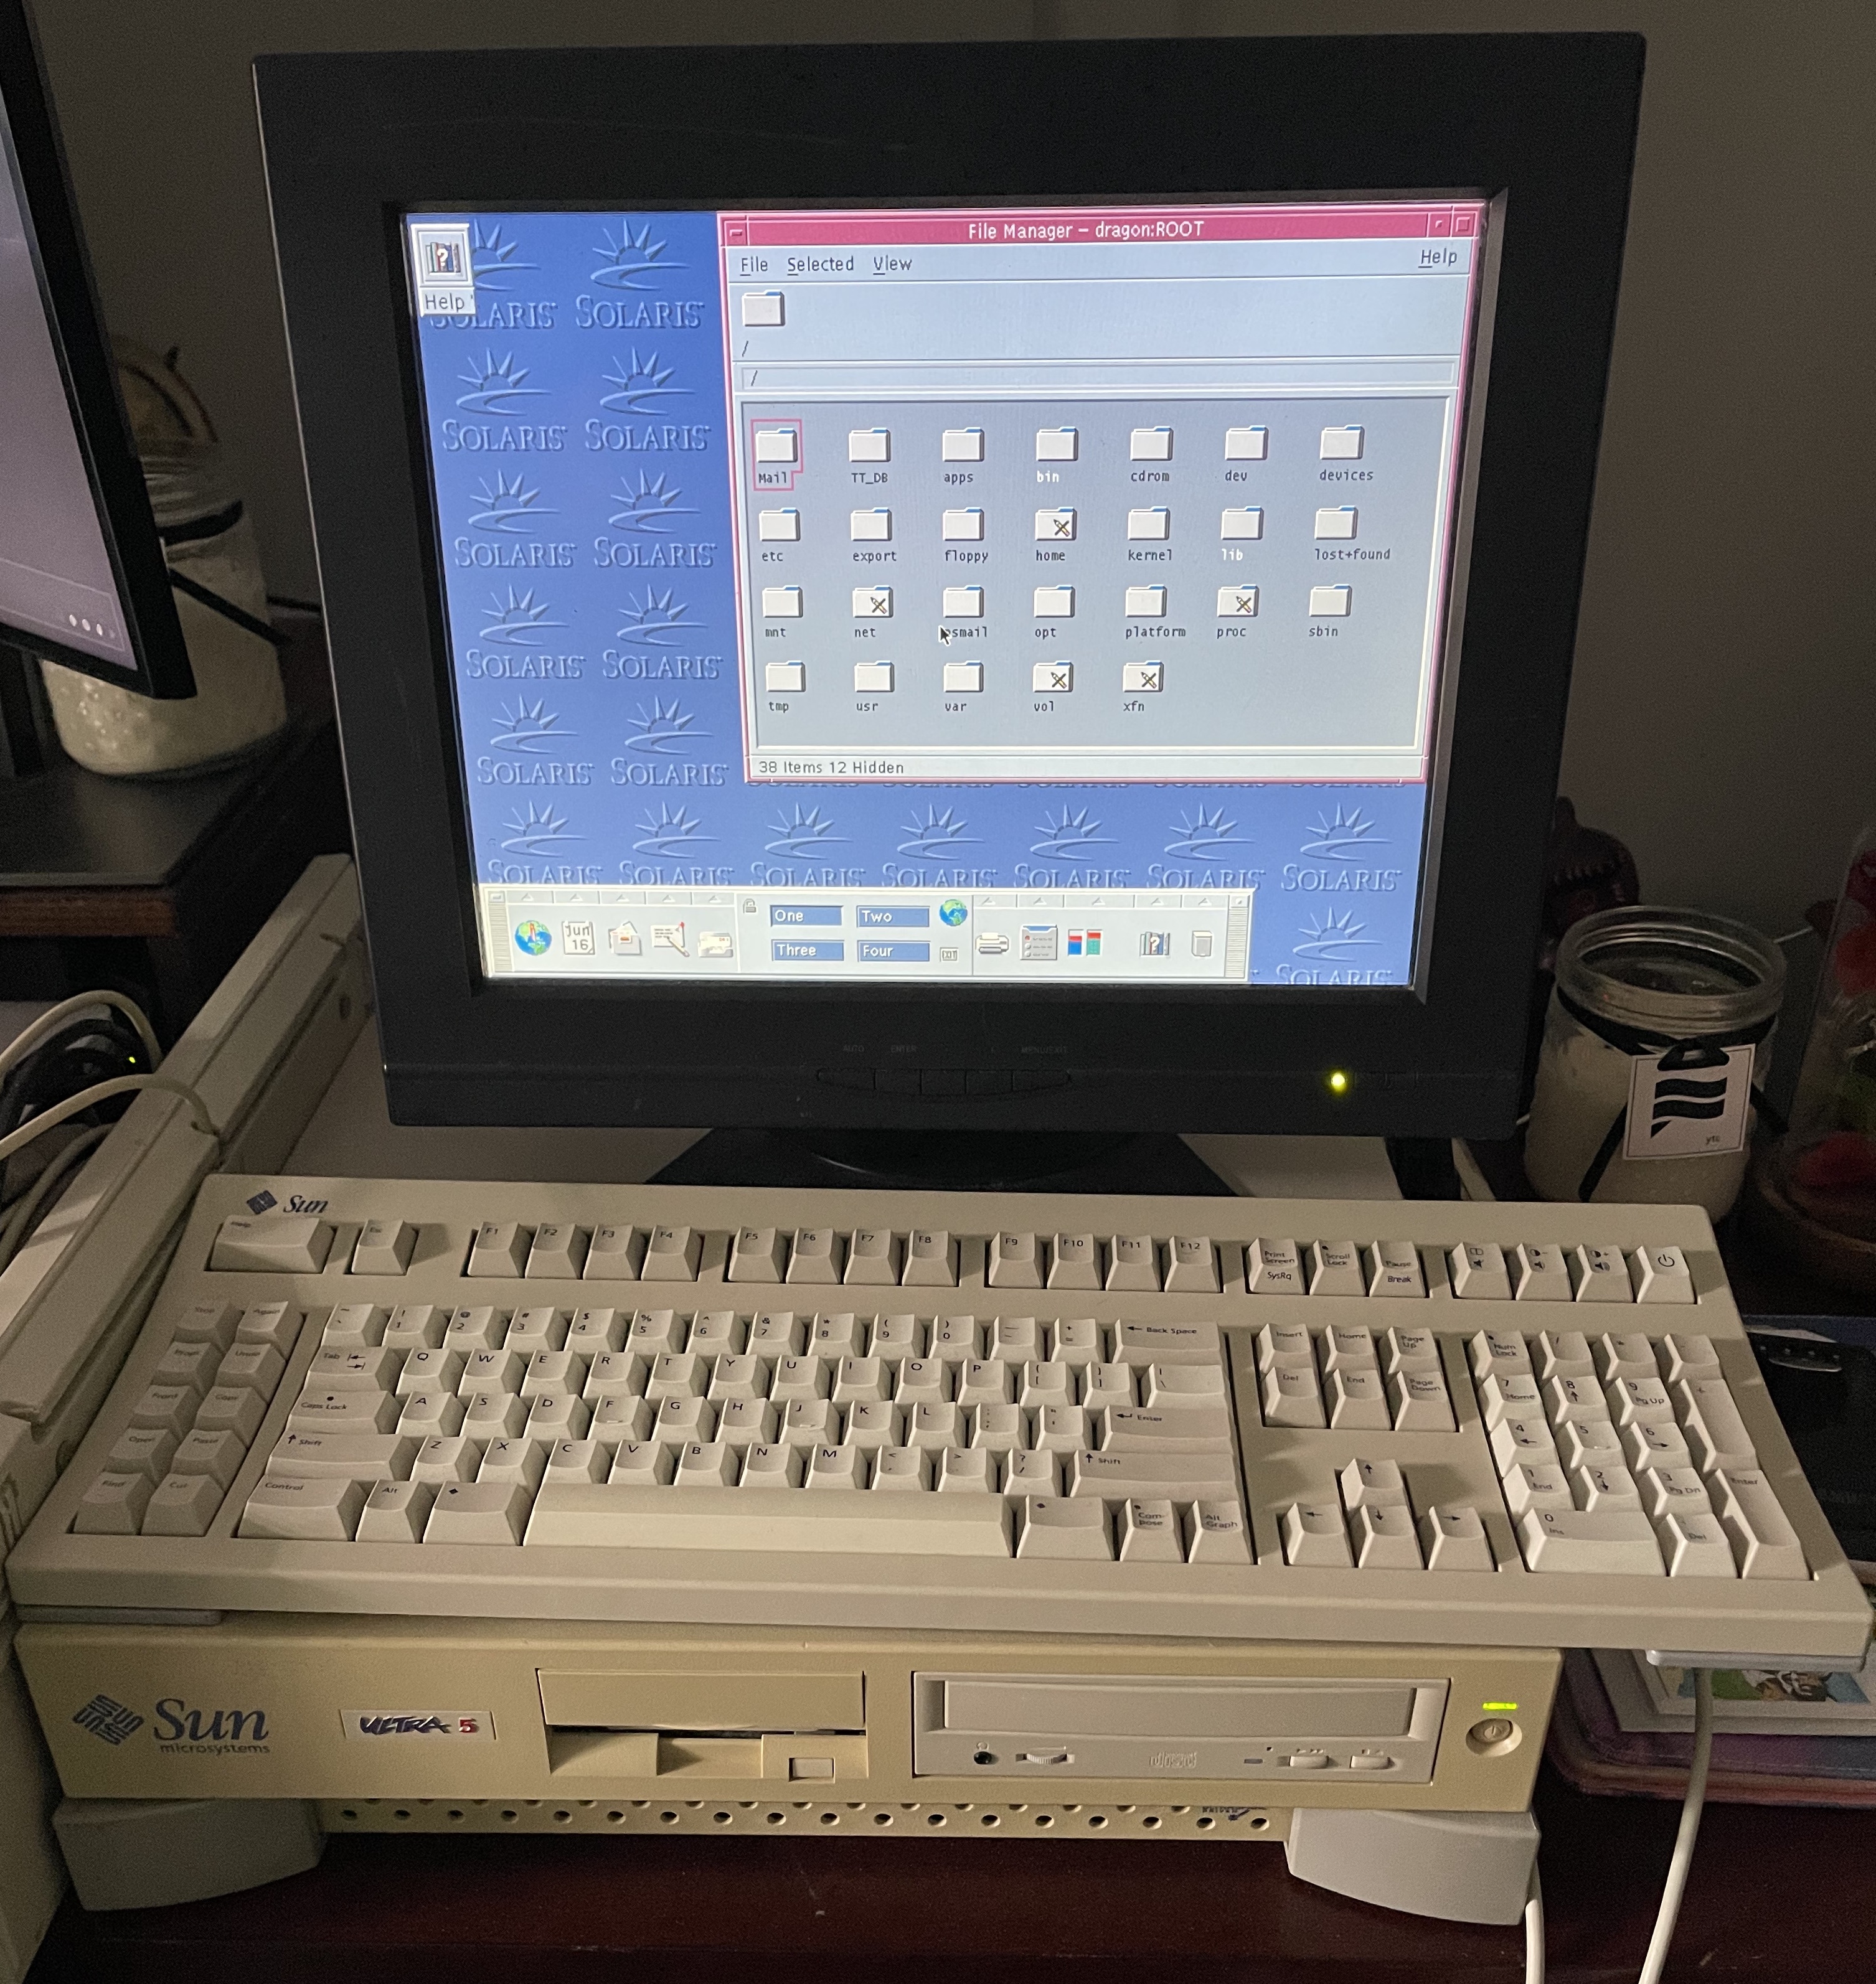
My first “computer job” was working as the assistant sysadmin for the Math Department at the University of South Carolina. I can still remember how proud I was to have my own office and a cutting-edge Sun Microsystems Ultra 5 workstation with the matching, purple, 19” CRT. It had a 360MHz UltraSPARC-IIi processor and ran Solaris 9 with CDE as the windowing system. I learned vim, Perl, and lots more about UNIX on that computer.
Because I have so many good feelings attached to that hardware, I wanted to have one of my own again. So, after searching Ebay for a couple of weeks and vacillating on whether or not I should actually purchase it, I decided on one that even came with the keyboard I used.

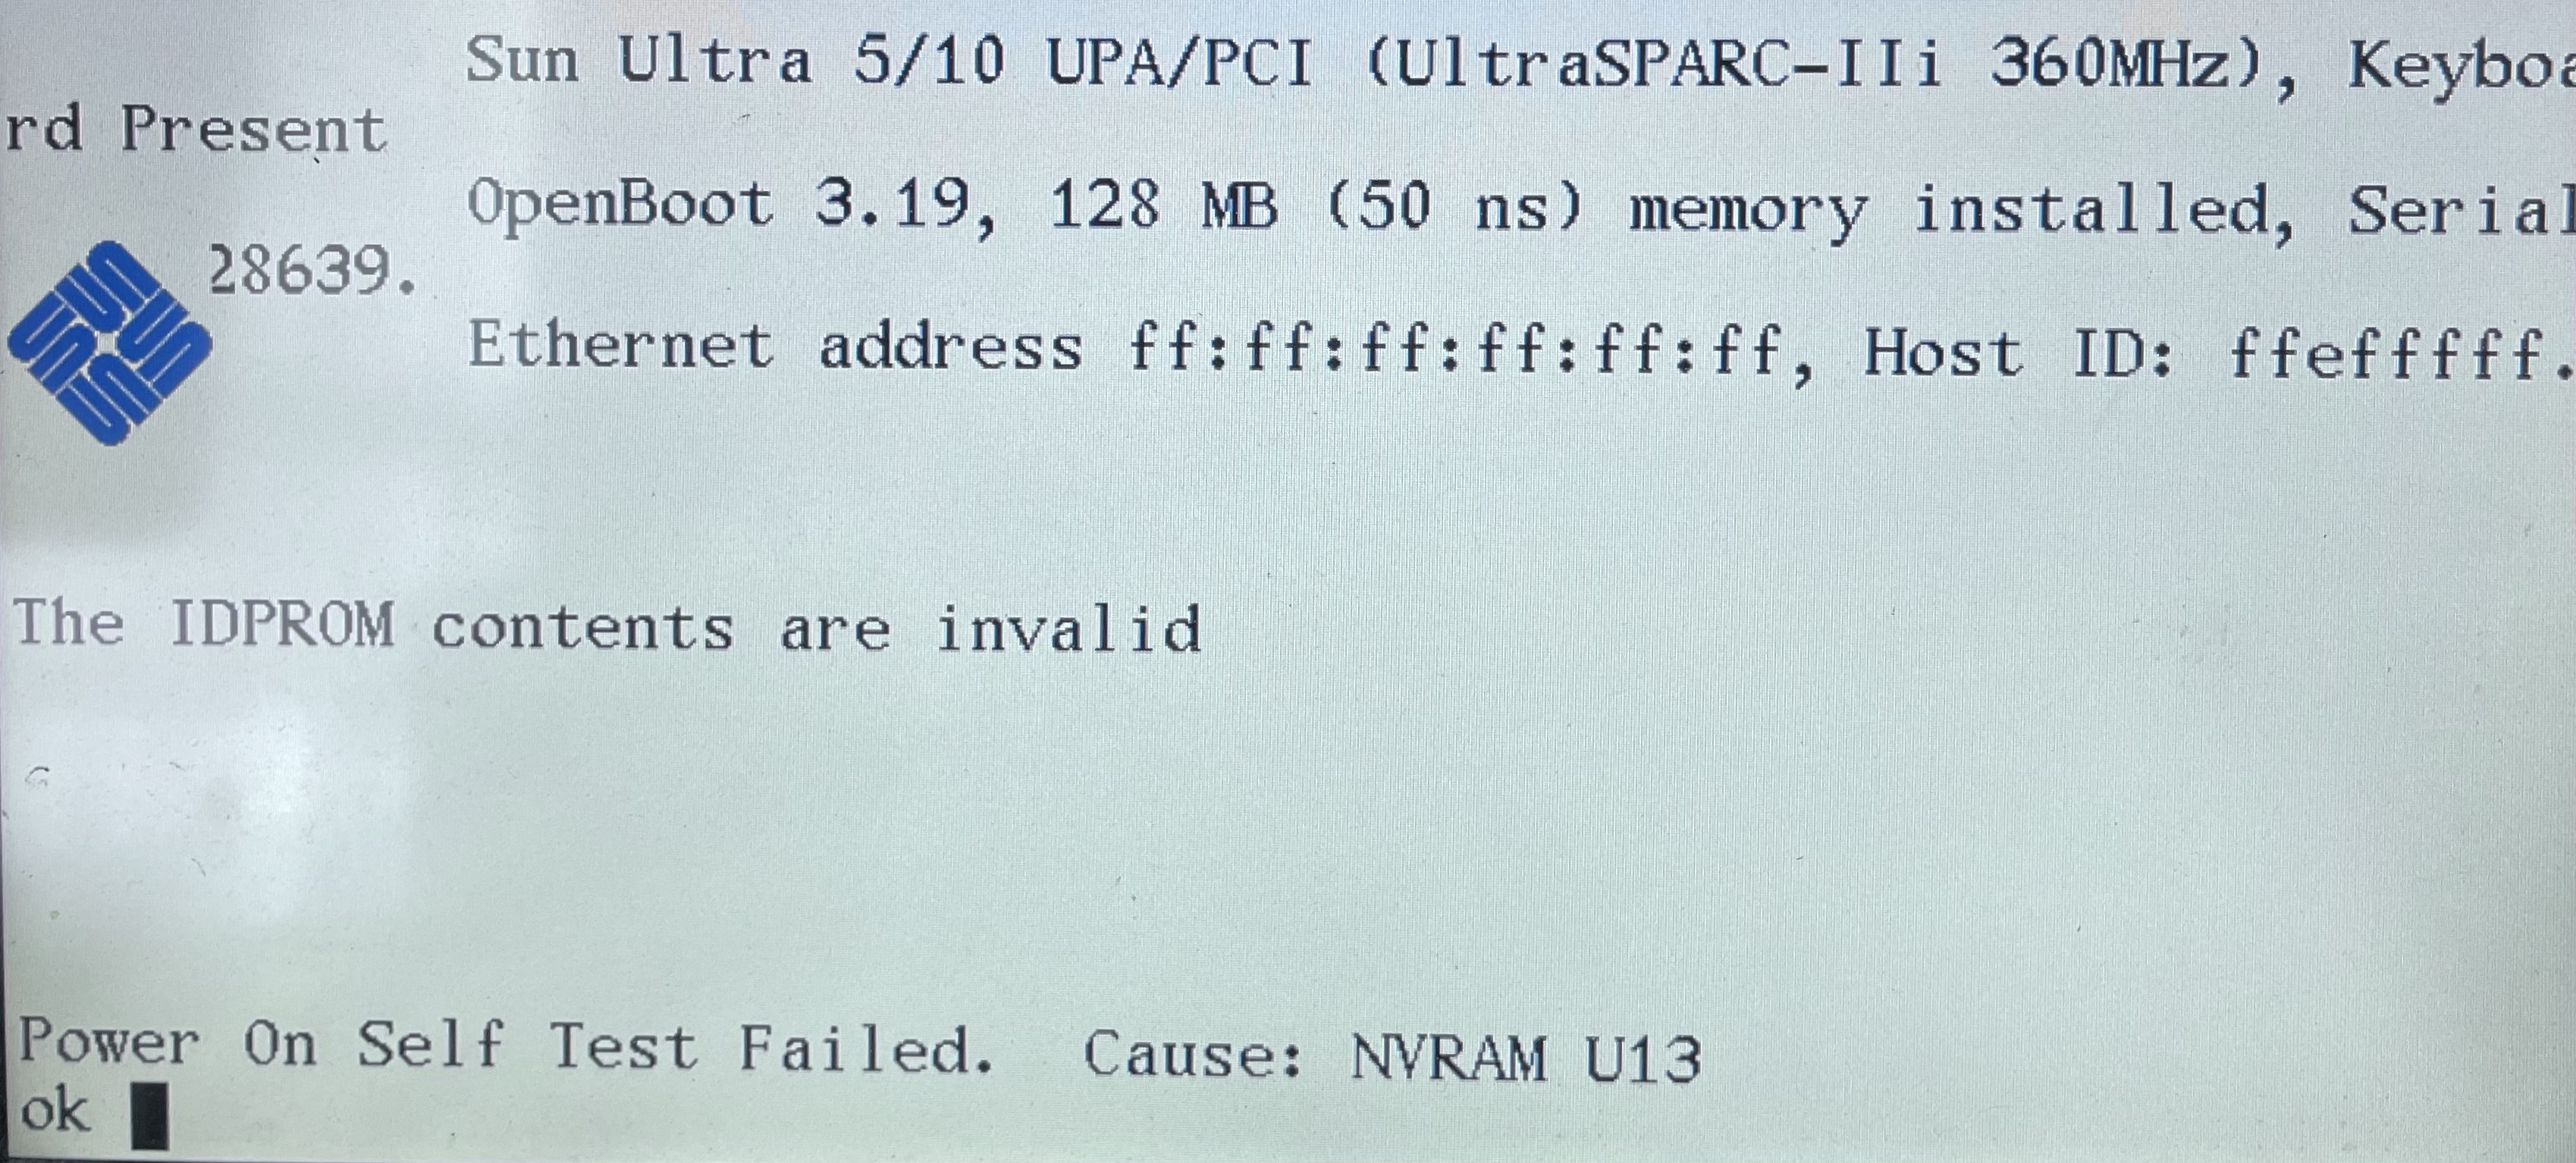
Thanks to some speedy shipping, I received it about a week later and in great condition. I was immediately reminded just how heavy and well-constructed these machines are! Typing on the keyboard definitely brought back some memories as well. When I booted it up, though, I was presented with a nice error message:

This was expected, though. Unfortunately, the battery is inside of the NVRAM chip and not replaceable. Some more adventurous folks have used a Dremel to get access to the battery in order to solder leads on it to power the chip. Fortunately, this blog post describes how to manually set the MAC address so that it’ll boot. For my machine, this is what that looks like:
set-defaults
1 0 mkp
80 1 mkp
8 2 mkp
0 3 mkp
20 4 mkp
b9 5 mkp
4e 6 mkp
5a 7 mkp
0 8 mkp
0 9 mkp
0 a mkp
0 b mkp
b9 c mkp
4e d mkp
5a e mkp
0 f 0 do i idprom@ xor loop f mkp
With that typing out of the way, I was able to run the banner command, see
that that the MAC address is set correctly, and run reset to reboot. At this
point, I was able to get to the login screen. Huzzah!
Unfortunately, I wasn’t given any of the passwords for the box (the seller also didn’t know them), so I was off to searching for a way to reset the root password. I tried reseting it via OpenBoot, with no luck. I found a way to reset it by booting to the Solaris 9 install CD but I don’t have one of those so that was out. However, I had another idea – take out the hard drive, mount the filesystem, and blank out the root paswword.

The first step was to order an IDE to USB
adapter. Once that arrived, I
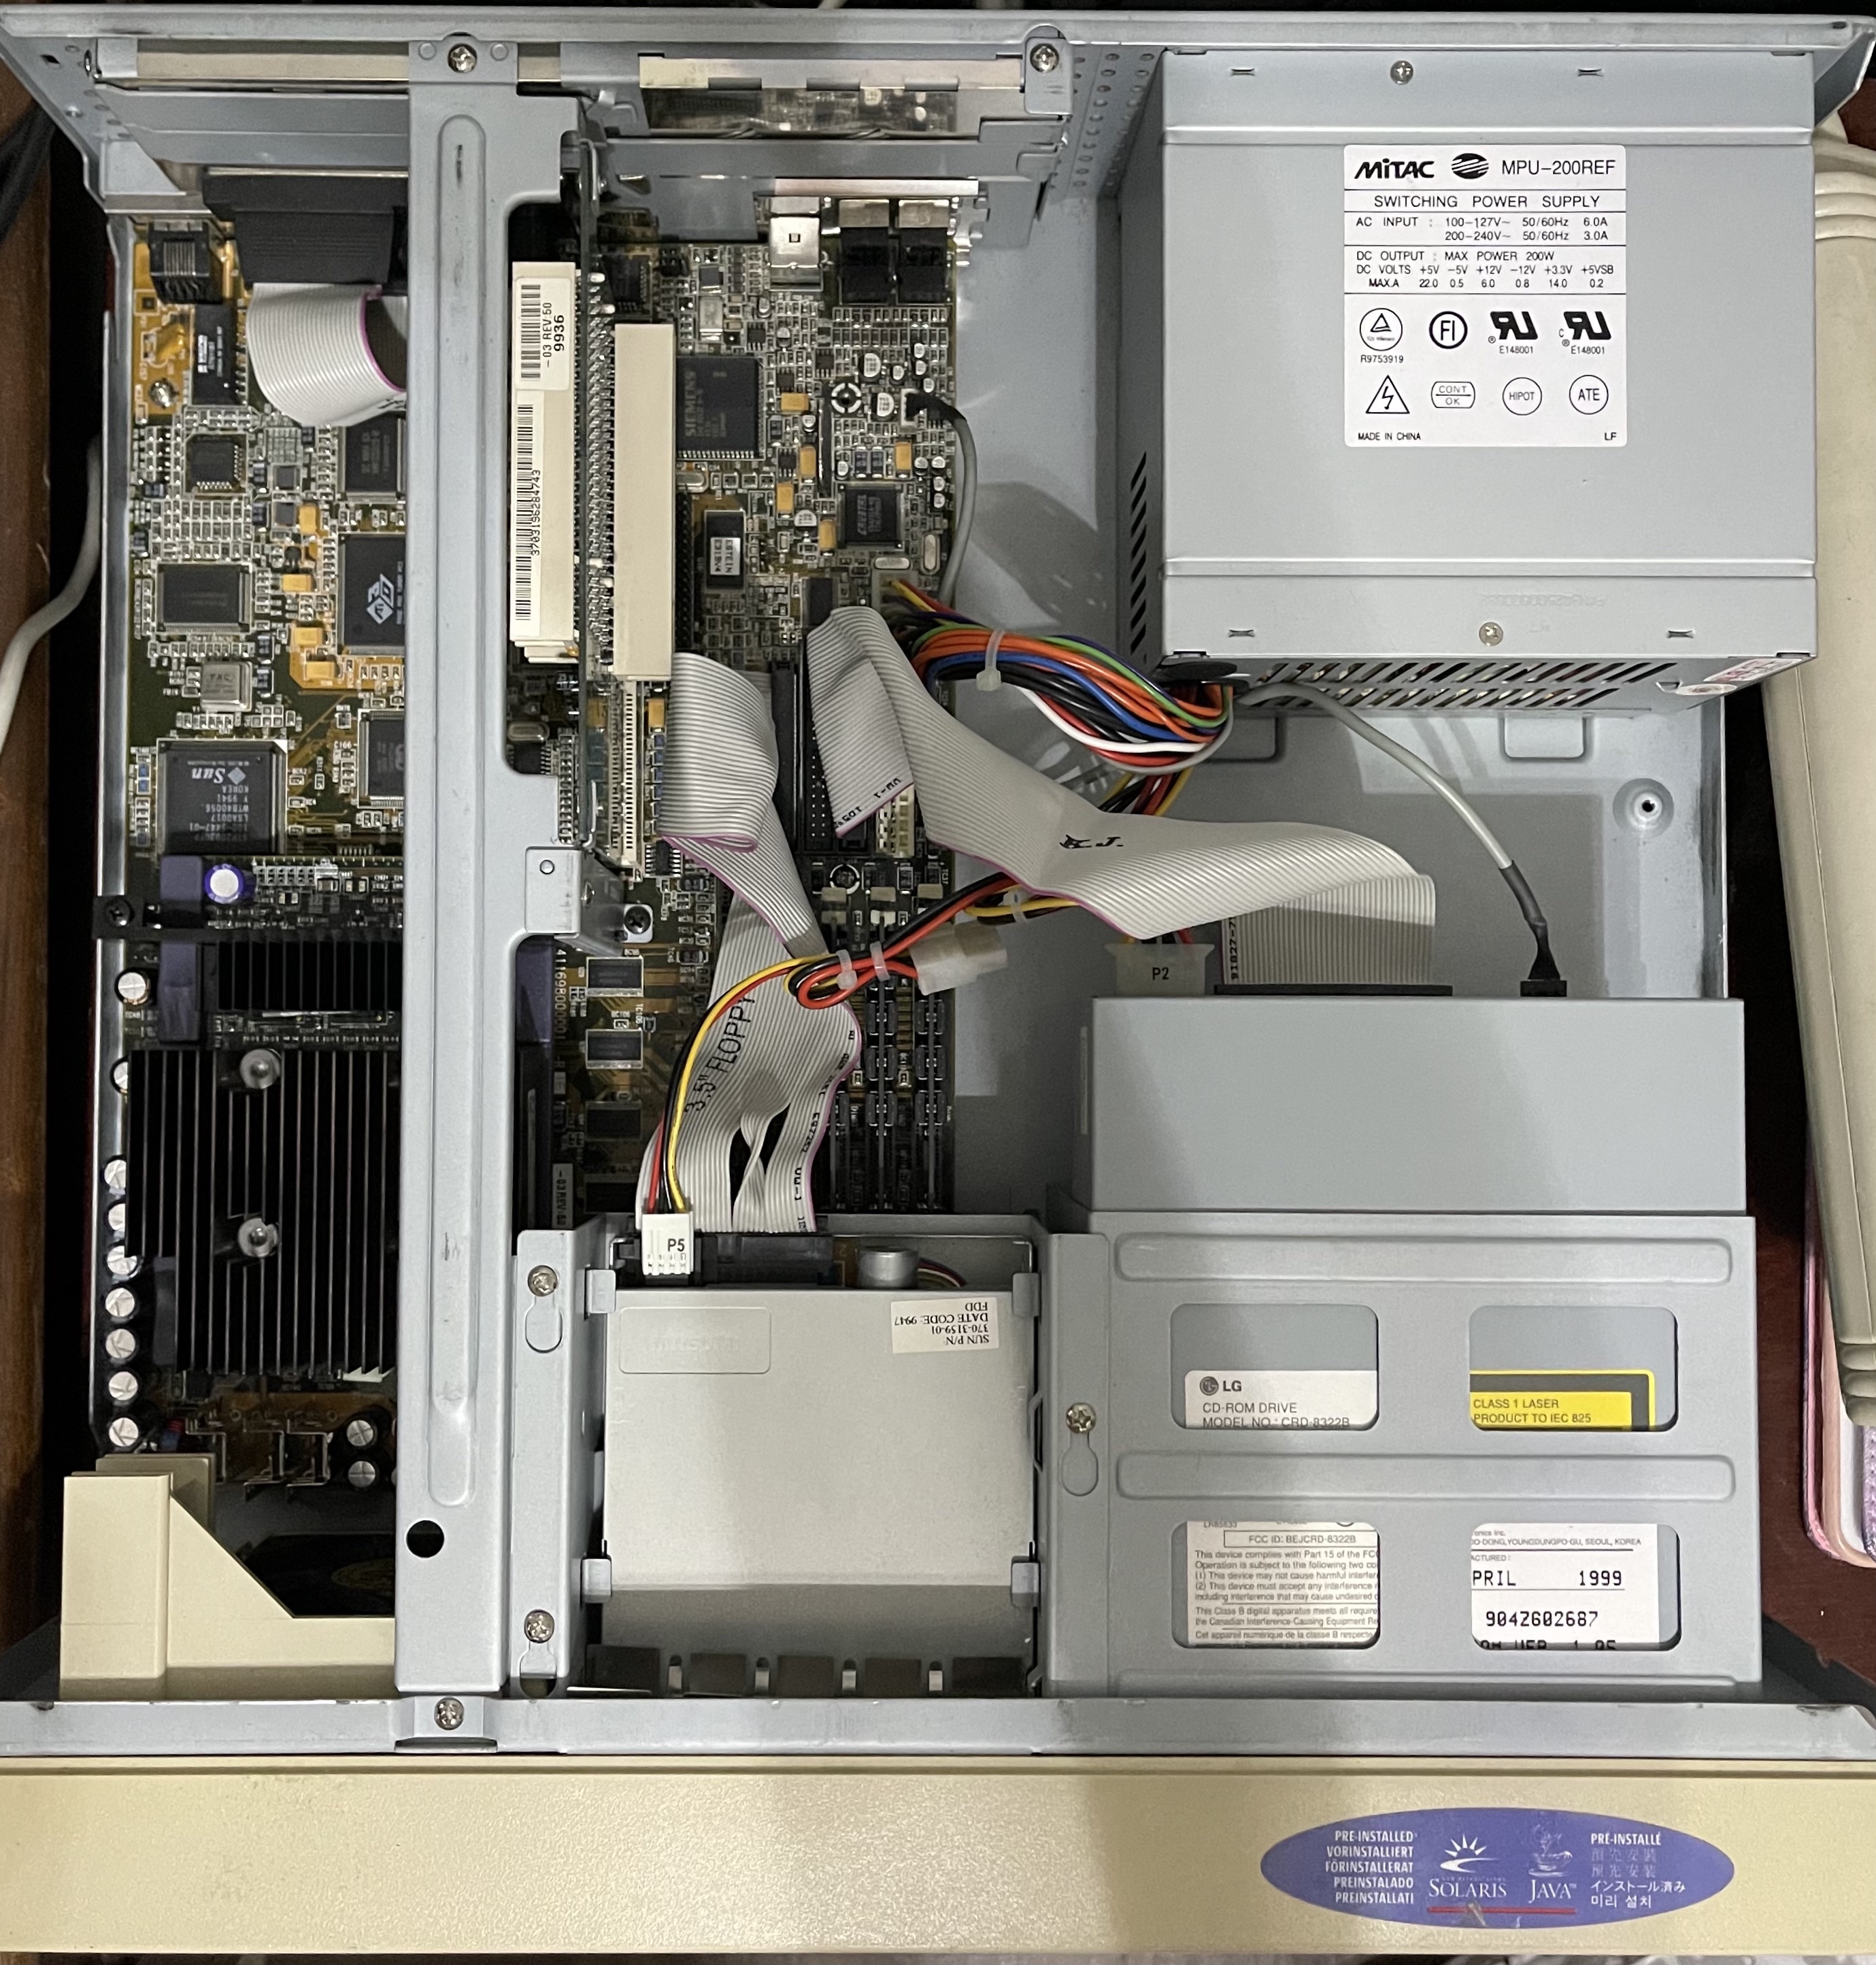
excitedly but carefully removed the hard drive from the Sun box and attached it
to my iMac. Unfortunately, the Mac didn’t recognize the drive at all. Next, I
tried attaching it to my NUC running NixOS and it could read it! Here’s what
fdisk -l returned:
Disk /dev/sdb: 8.03 GiB, 8622931968 bytes, 16841664 sectors
Disk model:
Geometry: 16 heads, 63 sectors/track, 16706 cylinders
Units: sectors of 1 * 512 = 512 bytes
Sector size (logical/physical): 512 bytes / 512 bytes
I/O size (minimum/optimal): 512 bytes / 512 bytes
Disklabel type: sun

Device       Start      End  Sectors   Size Id Type       Flags
/dev/sdb1  1049328  1336607   287280 140.3M  2 SunOS root
/dev/sdb2  1336608  1933343   596736 291.4M  4 SunOS usr
/dev/sdb3        0 16839647 16839648     8G  5 Whole disk
/dev/sdb4  1933344  2060351   127008    62M  7 SunOS var
/dev/sdb5        0  1049327  1049328 512.4M  3 SunOS swap    u
/dev/sdb6  2060352  2112767    52416  25.6M  0 Unassigned
/dev/sdb7  2112768  4775903  2663136   1.3G  4 SunOS usr
/dev/sdb8  4775904 16839647 12063744   5.8G  8 SunOS home
Now we’re making progress! However, when I attempted to mount the root
partition, I got an error because there isn’t a /dev/sdb1. Womp, womp.
Apparently this happens when the kernel can’t recognize the partition table,
but I was able to manually add the partition with addpart /dev/sdb 1 1049328 287280
and then mount the volume (read-only) with mount /dev/sdb1 /mnt/sun. From
there, I was able to grab the contents of the /etc/shadow file that contains
the root password. Unfortunately, I still had two problems:
- the filesystem is mounted read-only, so I can’t just wipe out the root password
- the password is encrypted
Considering the fact that I don’t have a way to repair or re-install the operating system, I was very hesistant to try to mount the filesystem as read/write. Instead, I decided to give the password cracker, John the Ripper a try. To my surprise, it worked fantastically well, cracking all of the passwords in the shadow file! Here’s what that looked like, with redactions:
jasondew@nixos ~ $ john shadow
Created directory: /home/jasondew/.john
Using default input encoding: UTF-8
Loaded 3 password hashes with 3 different salts (descrypt, traditional crypt(3) [DES 128/128 SSE2])
Will run 8 OpenMP threads
Proceeding with single, rules:Single
Press 'q' or Ctrl-C to abort, almost any other key for status
Almost done: Processing the remaining buffered candidate passwords, if any.
Warning: Only 646 candidates buffered for the current salt, minimum 1024 needed for performance.
Warning: Only 595 candidates buffered for the current salt, minimum 1024 needed for performance.
Warning: Only 780 candidates buffered for the current salt, minimum 1024 needed for performance.
Proceeding with wordlist:/nix/store/vkic74bzbriwwlzbx8bg85cg1zbpi3py-john-1.9.0-jumbo-1/share/john/password.lst, rules:Wordlist
Proceeding with incremental:ASCII
Warning: MaxLen = 13 is too large for the current hash type, reduced to 8
kenn98           (<username 1>)
kenn98           (root)
tinandy1         (<username 2>)
3g 0:00:01:12 DONE 3/3 (2021-06-10 18:25) 0.04139g/s 13771Kp/s 14036Kc/s 14036KC/s tigieaug..timsgug2
Use the "--show" option to display all of the cracked passwords reliably
Session completed
At this point, I was able to log in (the root password was kenn98) and
immerse myself in nostalgia. I struggled a bit because I don’t have a mouse,
but I was able to find some shortcut keys to let me use the window manager. The
terminal emulator brought back the most memories. I was suprised to see that
Netscape Navigator was even installed!
This was my first foray into retro computing and I’ve really enjoyed it. I’m not sure what’s next for this machine, but I think I’d like to get a working C or Rust compiler installed. I picked up a small touchscreen monitor from the local Goodwill and I’d like to see if I can decipher the data coming in off it’s serial port.